- Types
- Generated files
- Form
- Listing
- Authorization
- Validation
- Export
- User detail tooltip
- Publishable
- Bulk Actions
- Fake data
- Add an attribute
- Behind the scenes
- Authorization (without Craftable)
Explore Generator
Generator generates all the CRUD code based on the migrated table structure. It follows convention over configuration principle, so it is very simple to use for a typical use case. So instead of using a god-powerful tool that can do anything, with the generator you quickly scaffold all the common stuff, so you can focus on all the details each module differs from each other.
Supported types
Generator supports these Illuminate\Database\Schema\Blueprint types in your migrations:
stringtextdatedatetimetimebooleanjsonb
{primary} You can use any other type in your migration, but it will be treated exactly like it is a
stringtype.
{warning} Note that
jsonbtype has special meaning.
Generated files
Generator creates these new files:
- a model class
- a controller class
- an index view template with respective resources (blades, js)
- create and edit view templates with respective resources (blades, js)
- index, store, update and destroy request classes
- a default permissions migration
- (optionally) an export class
On addition it also:
- appends a new factory
- appends admin routes into a web routes file
- appends a new menu item
Form generators
Generator automatically generates the create and edit forms for a specified model reflecting all its attributes.
Generator supports these form elements:
- input text (for any
stringor any other type not specified in this list) - textearea (for any
text) - wysiwyg (when attribute name is one of:
text,body,description) - date (for any
date) - datetime (for any
datetime) - time (for any
time) - number (for any
number) - translatable column (for any
jsonb) - checkbox (for any
boolean)
Primary key and other system attributes (i.e. created_at, updated_at, ...) are excluded from the forms.
Listing generator
Generator automatically generates the CRUD listing with search ability. Listing includes all the attributes except:
- attributes of
texttype - attributes of
jsonbtype when the attributes name is one of:perex,textorbody passwordattribute- system attributes (i.e.
created_at,updated_at, ...)
If attribute of boolean type has a name one of: enabled, activated or is_published, then it will be automatically generated as a switch element.
All the text and string attributes are by default searchable.
Authorization
For security reasons generator generates a routes that are protected with 4 different abilities defined in the generated request classes:
admin.model-name.indexadmin.model-name.createadmin.model-name.editadmin.model-name.destroy
Craftable automatically generates also migration introducing these abilities as migrations and assign them to the default Administrator role.
Validation
Generator generates validation rules for store and update request classes. Attribute types are reflecting standard Laravel's validation rules.
Not setting nullable on attribute makes the attribute required on store request and sometimes on update request.
Attribute named email gets a proper email validation rule.
Exports
Generator provides --with-export option that provides the ability to export data as .xlsx. Generator generates a [ModelName]Export class within App/Export directory that provides several options (i.e. attributes to export, formatting, etc.). For more information see the documentation of Laravel Excel.
User detail tooltip
If you specify columns as shown below in your migration, Generator will generate whole CRUD including user-detail-tooltip component in your listing.
$table->unsignedInteger('created_by_admin_user_id');
$table->foreign('created_by_admin_user_id')->references('id')->on('admin_users')->onDelete('cascade');
$table->unsignedInteger('updated_by_admin_user_id');
$table->foreign('updated_by_admin_user_id')->references('id')->on('admin_users')->onDelete('cascade');
Publishable
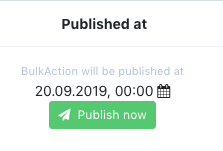
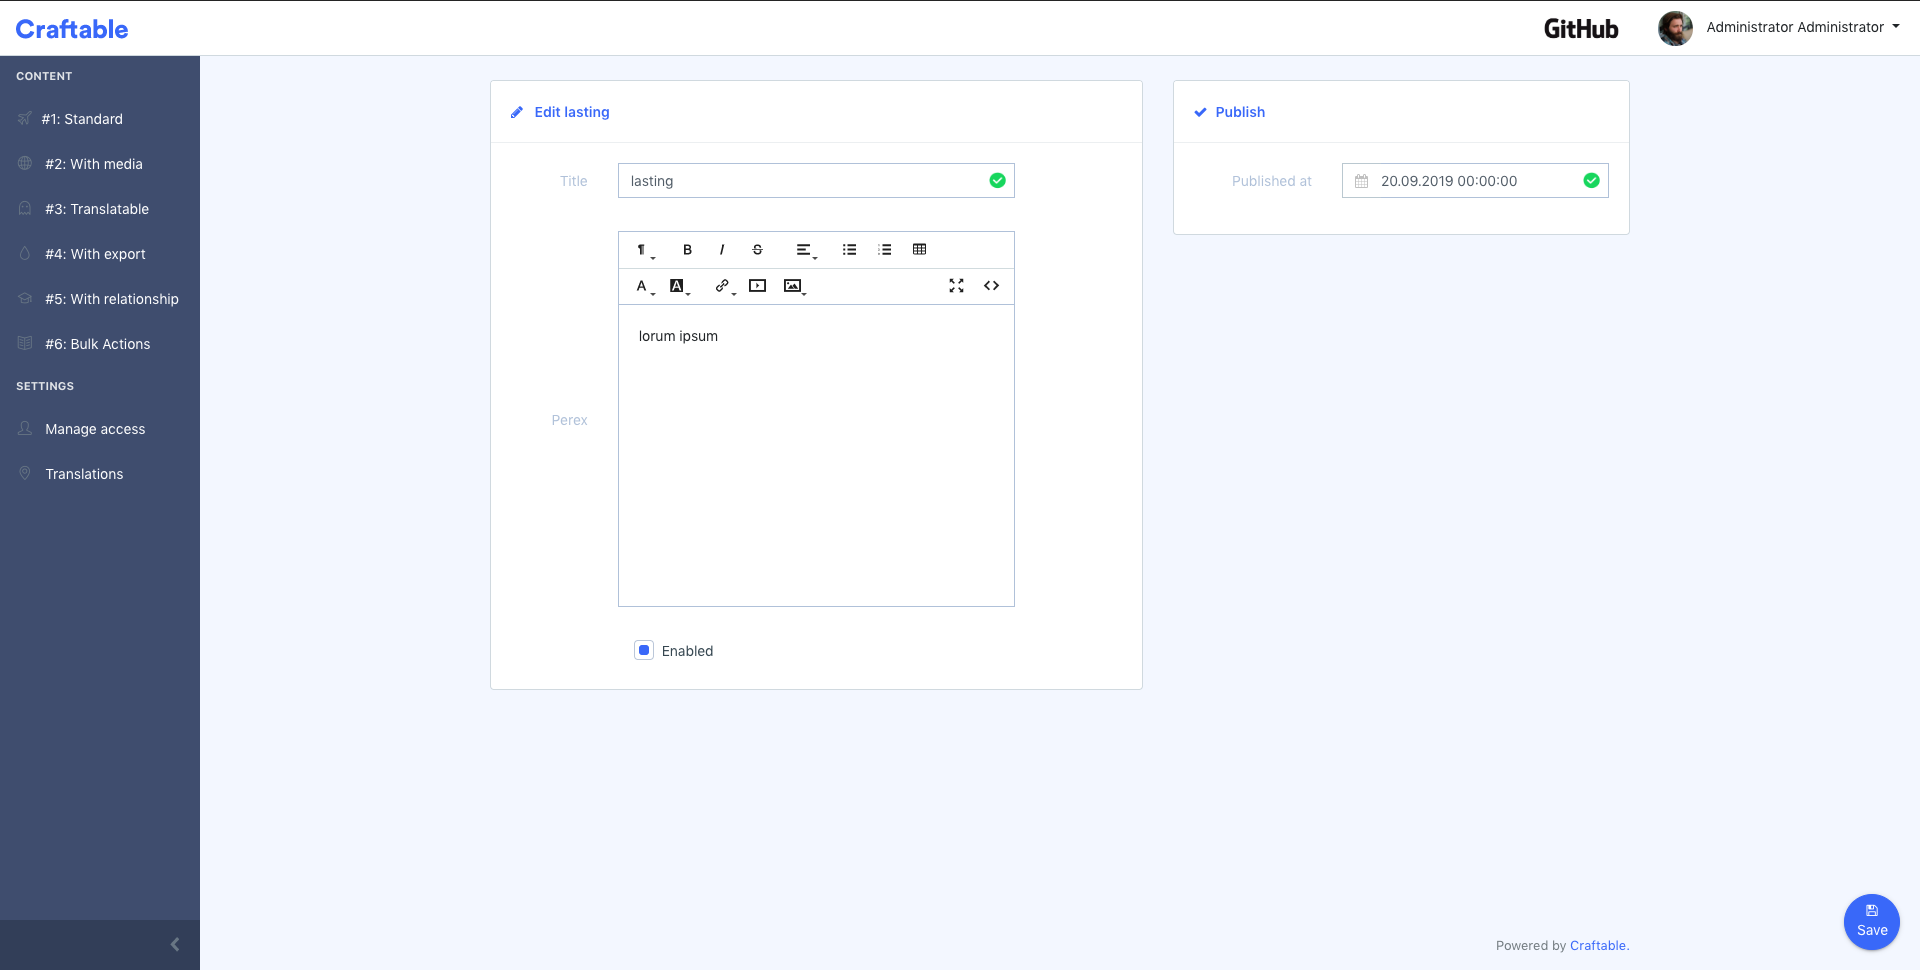
If your migration contains published_at column as shown below, Generator will generate whole CRUD including ability to publish instance of your model in listing. Generator will also generate user friendly two col form.
$table->date('published_at')->nullable();

Bulk actions
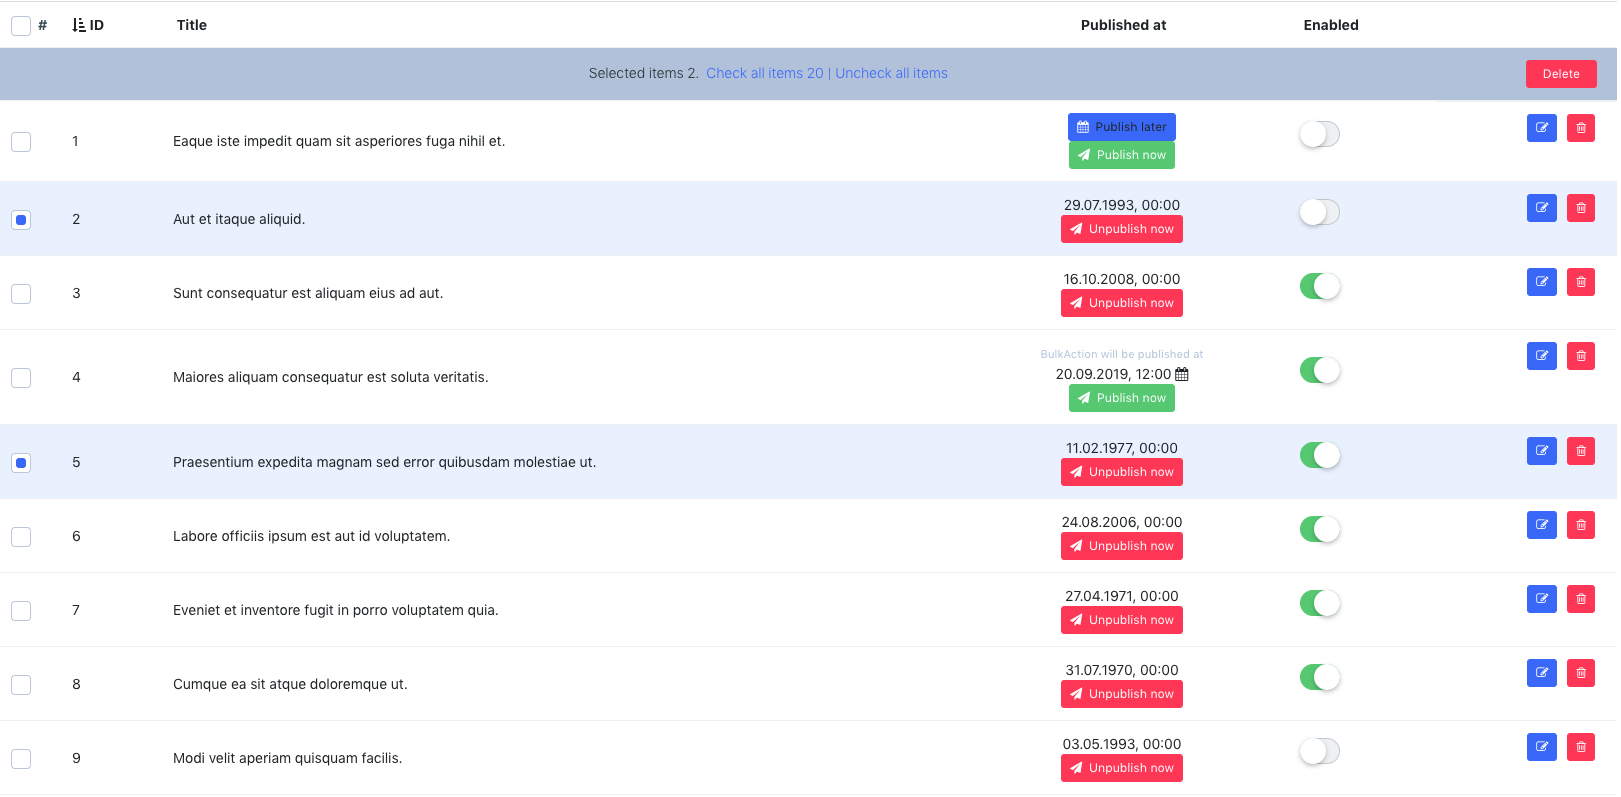
By default Generator will generate bulk delete action in listing. If you want to disable this feature just use --without-bulk option.

Fake data
Generator provides --seed option that enables you to populate the table with fake data using just generated factory.
Add an Attribute
Unfortunately, generator does not provide an option to add new attribute once the CRUD was generated. But you can always regenerate entire CRUD using --force option:
php artisan admin:generate --force posts{warning} We strongly recommend to backup your code before forced regeneration.
Behind the scenes
Behind the scenes generator provides several commands, the building blocks of the generator:
admin:generate:modelGenerate a model classadmin:generate:controllerGenerate a controller classadmin:generate:indexGenerate an index view templateadmin:generate:formGenerate create and edit view templatesadmin:generate:factoryAppend a new factoryadmin:generate:routesAppend admin routes into a web routes fileadmin:generate:request:indexGenerate an Index request classadmin:generate:request:storeGenerate a Store request classadmin:generate:request:updateGenerate an Update request classadmin:generate:request:destroyGenerate a Destroy request classadmin:generate:permissionsGenerate a default permissions migration
Typically, you don't want to use any of these commands, you just want to generate the whole CRUD interface with all the stuff using:
admin:generateScaffold complete CRUD admin interface
which basically runs all the commands above in one run.
Authorization (without Craftable)
{danger.fa-exclamation-triangle} This section is for those of you who use this package as a standalone package (without
brackets/craftable) or does not want to use the default permissions and roles provided by this generator. Otherwise, you can safely skip this chapter :)
For security reasons generator generates a routes that are protected with 4 different abilities:
admin.model-name.indexadmin.model-name.createadmin.model-name.editadmin.model-name.destroy
In case you are using this package as standalone package or in case you have choosen not to migrate generated permissions, then the definition of these abilities is left to you - to meet your use case.
Let's quickly define new abilities, that temporarily allows any authenticated user to access the Post admin CRUD, just for a demonstration. So let's edit App\Providers\AuthServiceProvider:
class AuthServiceProvider extends ServiceProvider
{
    ...
    public function boot()
    {
        ...
        // we return true for any $user that is passed to these abilities
        Gate::define('admin.post.index', function ($user) { return true; });
        Gate::define('admin.post.create', function ($user) { return true; });
        Gate::define('admin.post.edit', function ($user) { return true; });
        Gate::define('admin.post.delete', function ($user) { return true; });
{danger.fa-exclamation-triangle} In real project be aware of exposing your CRUD to anybody. You should perform real checks (i.e. check if user is really an administrator).
After authorization correctly set up, everything is ready to use.