Installation
Craftable comes with handy Installer which make the installation like a breeze. You can install Craftable either on existing project or easily create a new one.
Requirements
Craftable requires:
- PHP 8.0+
- Supported databases:
- MySQL 5.7+
- PostgreSQL 9.5+
- npm 5.3+
- node 8.4+
Craftable uses Laravel so you should check out its requirements too. It is compatible with Laravel 9 and Laravel 10:
By default Craftable uses Docker for its installation. You should checkout out Laravel Sail for more information. If you don't want to use Docker/Sail, use --no-sail flag as
described in the New Craftable project section.)
Craftable Installer
The easiest way of installing Craftable is using Craftable Installer, which takes care of everything. Let's install the Installer globally:
composer global require "brackets/craftable-installer"New Craftable project
You can create a new Craftable project using:
craftable new my_projectthat will create a new directory my_project. Then go to this directory and install the craftable:
cd my_project
craftable install
{info} By default, Craftable Installer will use Laravel Sail. Therefore, instead of
php artisanyou should usesail artisan, instead ofnpm installrathersail npm install, etc. If you don't want to use Laravel Sail use--no-sailflag. In this case, you must have correctly configured.envfile and also have tools likecomposer,npm,phpglobally available on your system.
The install command is going to setup everything (install all dependencies, publish all important vendor configs, migrate the database, setup some configuration files, updates webpack configuration).
Command is going to generate and print the password for the default administrator account. Save this password to your clipboard, we are going to need it soon.
Adding Craftable to an existing project
You may want to install Craftable to your existing Laravel application. Couldn't be easier.
In your project directory run:
craftable install{info} By default, Craftable Installer will use Laravel Sail. Therefore, instead of
php artisanyou should usesail artisan, instead ofnpm installrathersail npm install, etc. If you don't want to use Laravel Sail use--no-sailflag. In this case, you must have correctly configured.envfile and also have tools likecomposer,npm,phpglobally available on your system.
The install command is going to setup everything (install all dependencies, publish all important vendor configs, migrate the database, setup some configuration files, updates webpack configuration).
Command is going to generate and print the password for the default administrator account. Save this password to your clipboard, we are going to need it soon.
Manual installation
If you can't use or prefer not to use Craftable Installer you can install Craftable to existing project manually (if you want to crate a new project, create new Laravel project before).
If you are using Laravel >= 9, please make sure that you have downgraded psr/simple-cache to version 2.0 before requiring brackets/craftable:
composer require psr/simple-cache:^2.0 maatwebsite/excelIn your Laravel project run following commands:
composer require brackets/craftable
composer require --dev brackets/admin-generator
# here, make sure .env variables are correctly configured
php artisan craftable:install
Finally we need to compile all the assets using npm. If you are using Laravel with Webpack, you need to run:
npm install && npm run devIf you are using Laravel with Vite, Craftable will add Webpack for admin assets generation. To compile Craftable assets, you need to run:
npm install && npm run craftable-dev{info} With Laravel's integration of Vite, the package.json setting
"type": "module"was added to support specific Vite plugins, yet it's incompatible with Laravel Mix, which is used by Craftable. Our installation process removes this setting frompackage.json, ensuring a smooth compilation for both Vite and Laravel Mix, but be mindful of potential issues arising from this change. For example, if you use Laravel Breeze, you may run into problems with its assets compilation. In this case renamingpostcss.config.jstopostcss.config.mjsshould do the trick.
Login
Once installed, navigate your browser to /admin/login. You should be able to see a login screen.
Use these credentials to log in:
- E-mail:
administrator@brackets.sk - Password: use password from you clipboard
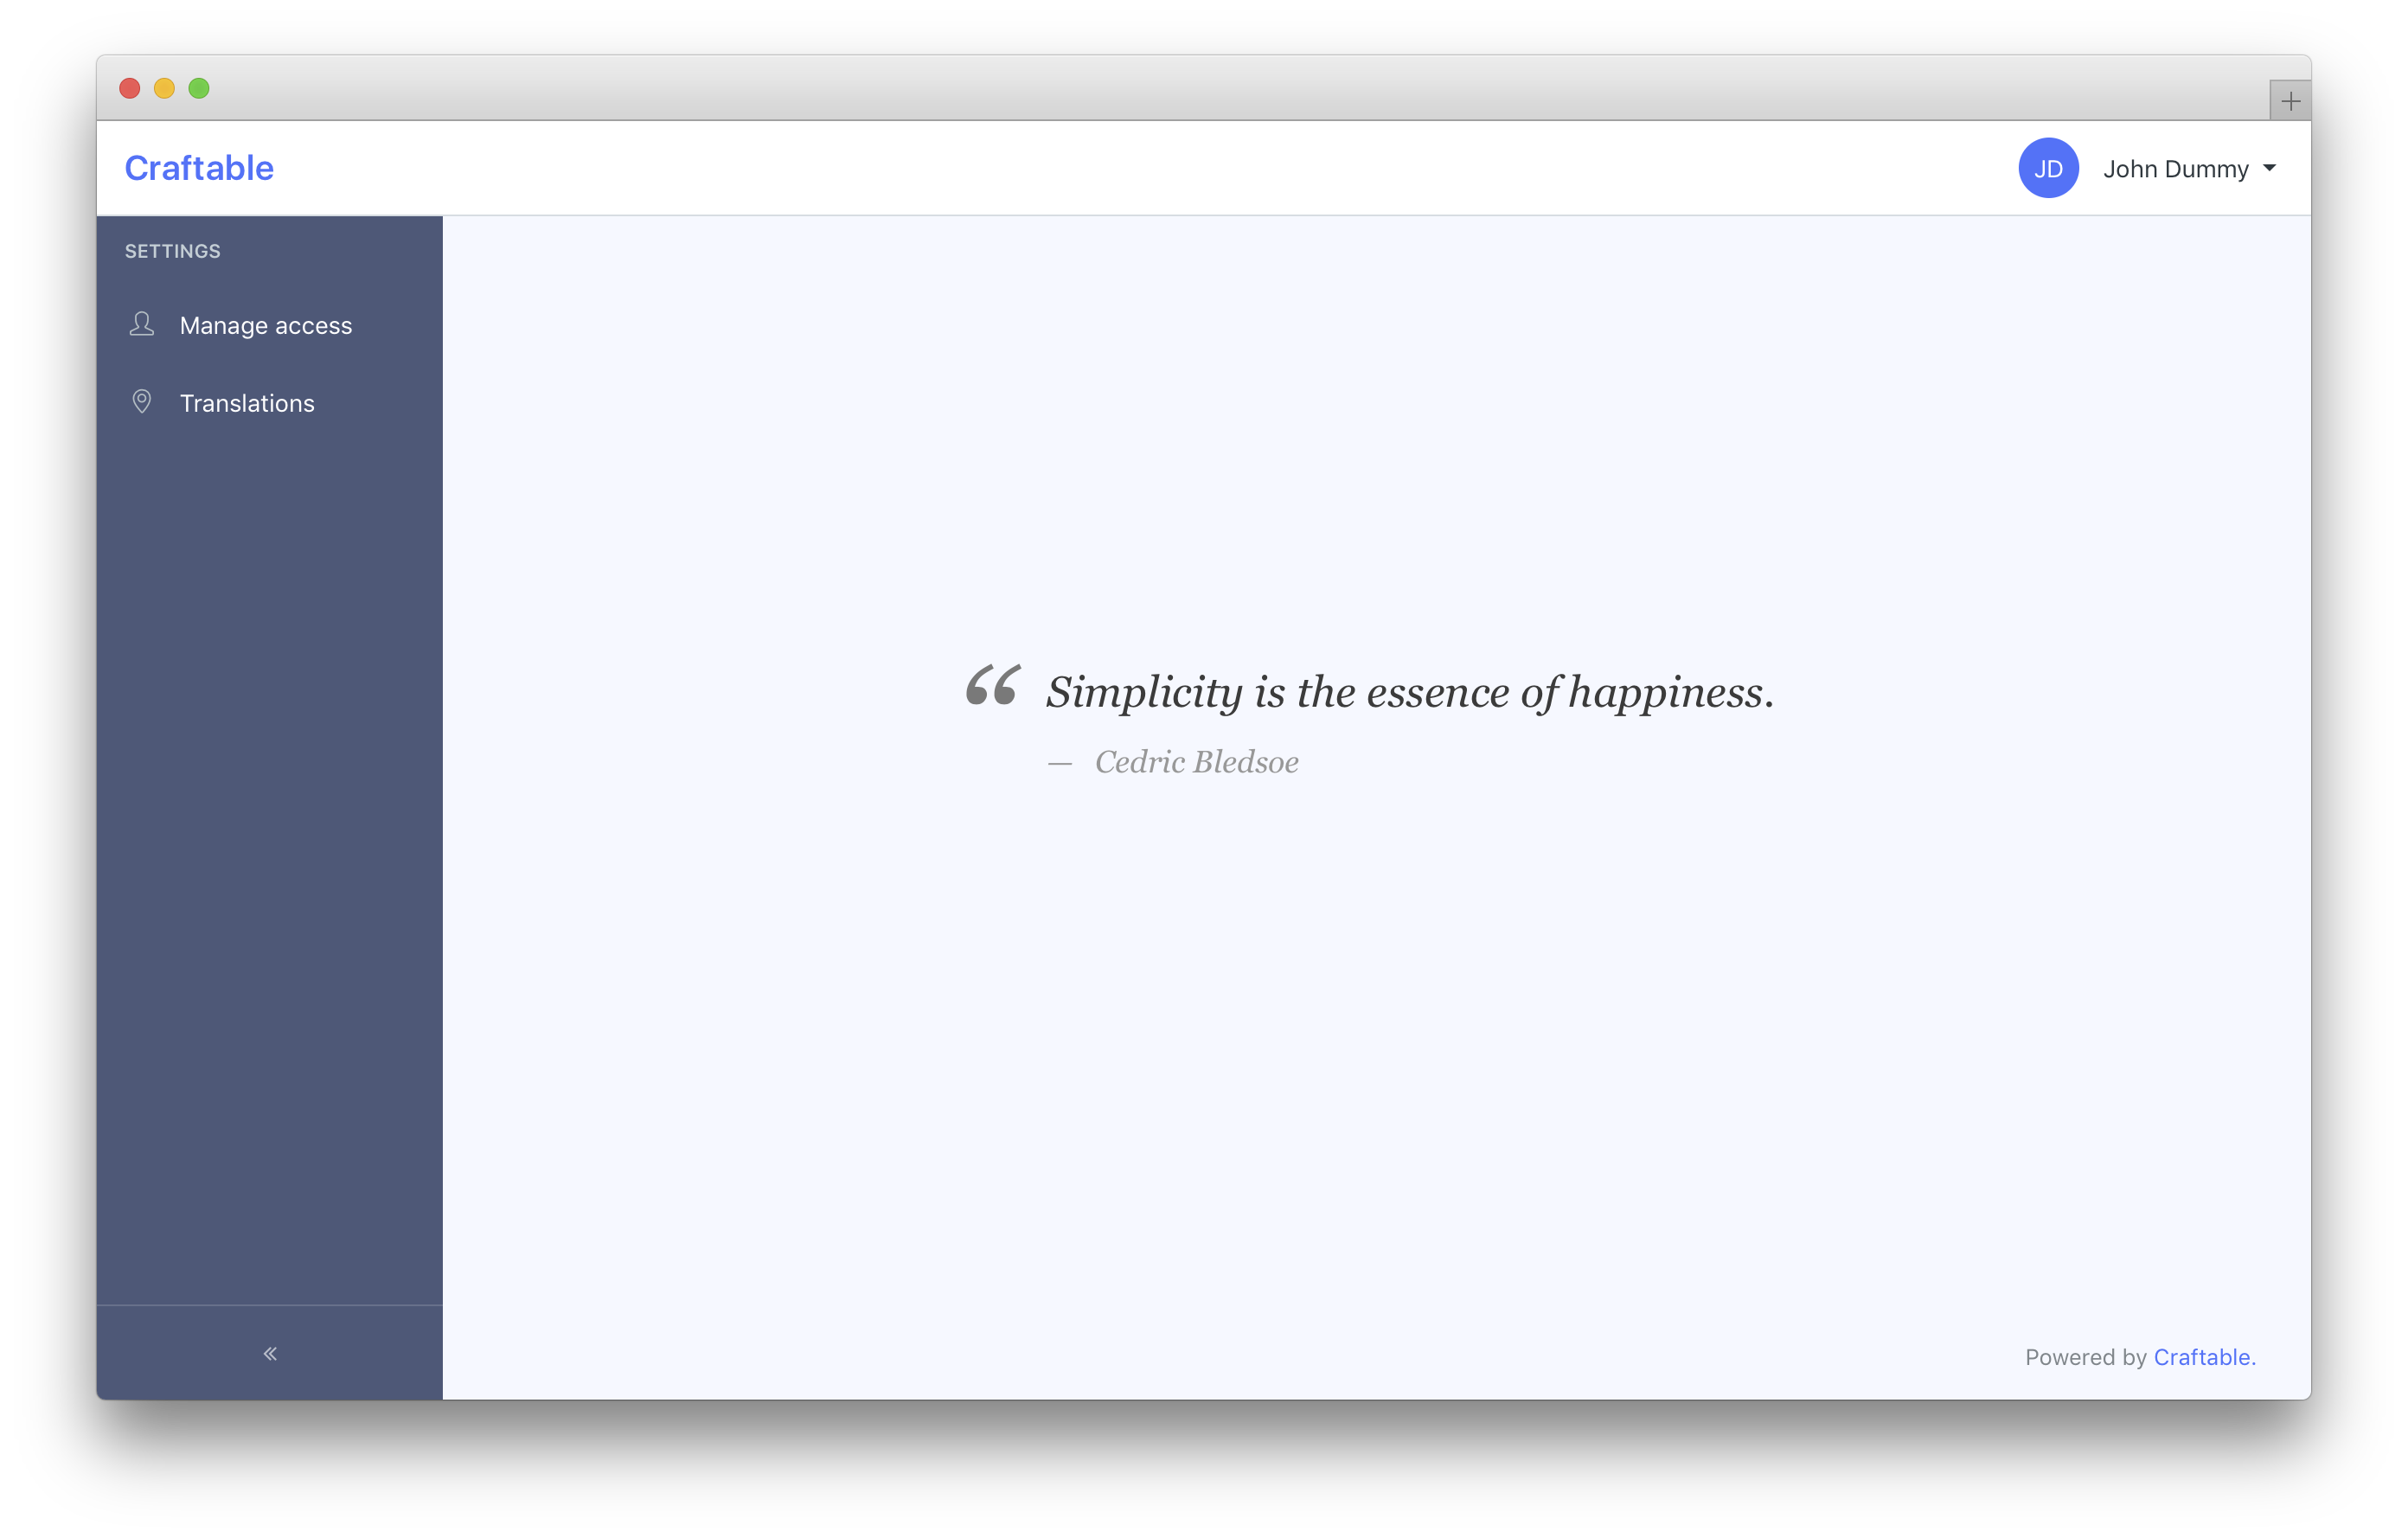
After authorization you should be able to see a default homepage and two menu items:
- Manage access
- Translations
