User Interface
Admin UI is an administration template for Laravel 5.5. It provides admin layout and basic UI elements to build up an administration area (CMS, e-shop, back-office, ...).
Admin UI is built using:
Requirements
This package requires PHP 7.0+ and Laravel 5.5.
Installation
{danger.fa-exclamation-triangle} This section is only when you want to use this package as a standalone package. If you are using with Craftable, then this package is already installed.
First, let's required this package.
composer require brackets/admin-uiProvider will be discovered automatically.
Now let's install this package using:
php artisan admin-ui:installFinally we need to compile all the assets using npm:
npm install && npm run devUsage
Once installed let's use the Admin UI. First create a route that will just serve simple view admin.hello-world:
Route::get('/admin', function () {
    return view('admin.hello-world');
});
Create new view resources/views/admin/hello-world.blade.php:
@extends('brackets/admin-ui::admin.layout.default')

@section('body')
    <h1>Hello World :)</h1>
@endsection
Navigate your browser to the /admin URL and you should be able to see the Admin UI basic layout.
Customization
You can customize main menu of your application in admin.layout.sidebar view:
<div class="sidebar">
    <nav class="sidebar-nav">
        <ul class="nav">
            <li class="nav-title">Content</li>
            <li class="nav-item"><a class="nav-link" href="{{ url('admin') }}"><i class="icon-globe"></i> <span class="nav-link-text">Hello World</span></a></li>
        </ul>

        <div class="sidebar-collapse">
            <i class="fa fa-angle-double-left"></i>
            <i class="fa fa-angle-double-right"></i>
        </div>
    </nav>
</div>
You can customize user dropdown menu of your application in admin.layout.profile-dropdown view:
<div class="dropdown-menu dropdown-menu-right">
    <div class="dropdown-header text-center"><strong>Account</strong></div>
    <a href="{{ url('admin/profile') }}" class="dropdown-item"><i class="fa fa-user"></i> Profile</a>
    <a href="{{ url('admin/logout') }}" class="dropdown-item"><i class="fa fa-lock"></i> Logout</a>
</div>
Form
Admin UI comes with predefined Vue ajax form mixin, which you can use and customize in your own Vue form. These mixin is capable of handle all typical form usecases such as ajax form submit, error handling etc. You can also easily add Media upload functionality.
Example of typical Vue form component
import AppForm from '../components/Form/AppForm';

Vue.component('post-form', {
    mixins: [AppForm],
    data: function() {
        return {
            form: {
                //define all your form inputs here,
                //this exact data structure will be sent to your backend

                title:  this.getLocalizedFormDefaults(),
                perex:  this.getLocalizedFormDefaults(),
                published_at:  '' ,
                is_published:  false ,
            },
        }
    }
});
You'll also need number of blade form components, but don't worry, if you're using our package brackets/admin-generator, all these files will be generated for you.
Example of typical create form
@extends('brackets/admin-ui::admin.layout.default')
@section('title', trans('admin.post.actions.create'))

@section('body')
    <div class="container-xl">
        <div class="card">
            <post-form
                :action="'{{ url('admin/post/store') }}'"
                :locales="{{ json_encode($locales) }}"
                :send-empty-locales="false"
                inline-template>

                <form class="form-horizontal form-create" method="post" @submit.prevent="onSubmit" :action="this.action" novalidate>
                    <div class="card-header">
                        <i class="fa fa-plus"></i> {{ trans('admin.post.actions.create') }}
                    </div>

                    <div class="card-block">
                        @include('admin.post.components.form-elements')
                    </div>

                    <div class="card-footer">
                        <button type="submit" class="btn btn-primary">
                            <i class="fa" :class="submiting ? 'fa-spinner' : 'fa-download'"></i>
                            {{ trans('brackets/admin-ui::admin.btn.save') }}
                        </button>
                    </div>
                </form>
            </post-form>
        </div>
    </div>
@endsection
Example of typical edit form
@extends('brackets/admin-ui::admin.layout.default')
@section('title', trans('admin.post.actions.edit', ['name' => $post->title]))
@section('body')

    <div class="container-xl">
        <div class="card">
            <post-form
                :action="'{{ route('admin/post/update', ['post' => $post]) }}'"
                :data="{{ $post->toJsonAllLocales() }}"
                :locales="{{ json_encode($locales) }}"
                :send-empty-locales="false"
                inline-template>

                <form class="form-horizontal form-edit" method="post" @submit.prevent="onSubmit" :action="this.action" novalidate>
                    <div class="card-header">
                        <i class="fa fa-pencil"></i> {{ trans('admin.post.actions.edit', ['name' => $post->title]) }}
                    </div>

                    <div class="card-block">
                        @include('admin.post.components.form-elements')
                    </div>

                    <div class="card-footer">
                        <button type="submit" class="btn btn-primary" :disabled="submiting">
                            <i class="fa" :class="submiting ? 'fa-spinner' : 'fa-download'"></i>
                            {{ trans('brackets/admin-ui::admin.btn.save') }}
                        </button>
                    </div>
                </form>
        </post-form>
    </div>
</div>
@endsection
Example of form-elements component
<div class="row form-inline" style="padding-bottom: 10px;" v-cloak>

    <div :class="{'col-xl-10 col-md-11 text-right': !isFormLocalized, 'col text-center': isFormLocalized }">
        <small>{{ trans('brackets/admin-ui::admin.forms.currently_editing_translation') }}<span v-if="!isFormLocalized && otherLocales.length > 1"> {{ trans('brackets/admin-ui::admin.forms.more_can_be_managed') }}</span> <span v-if="!isFormLocalized"> | <a href="#" @click.prevent="showLocalization">{{ trans('brackets/admin-ui::admin.forms.manage_translations') }}</a></span></small>
        <i class="localization-error" v-if="!isFormLocalized && showLocalizedValidationError"></i>
    </div>
    <div class="col text-center" v-if="isFormLocalized" v-cloak>
        <small>{{ trans('brackets/admin-ui::admin.forms.choose_translation_to_edit') }}
            <select class="form-control" v-model="currentLocale">
                <option v-for="locale in otherLocales" :value="locale">@{{ locale.toUpperCase() }}</option>
            </select>
            <i class="localization-error" v-if="isFormLocalized && showLocalizedValidationError"></i>
            |
            <a href="#" @click.prevent="hideLocalization">{{ trans('brackets/admin-ui::admin.forms.hide') }}</a>
        </small>
    </div>
</div>

<div class="row">
    @foreach($locales as $locale)
        <div class="col"@if(!$loop->first) v-show="isFormLocalized && currentLocale == '{{ $locale }}'" v-cloak @endif>
            <div class="form-group row" :class="{'has-danger': errors.has('title_{{ $locale }}'), 'has-success': this.fields.title_{{ $locale }} && this.fields.title_{{ $locale }}.valid }">
                <label for="title_{{ $locale }}" class="col-md-2 col-form-label text-md-right">{{ trans('admin.movie.columns.title') }}</label>
                <div class="col-md-9" :class="{'col-xl-8': !isFormLocalized }">
                    <input type="text" v-model="form.title.{{ $locale }}" v-validate="'required'" class="form-control" :class="{'form-control-danger': errors.has('title_{{ $locale }}'), 'form-control-success': this.fields.title_{{ $locale }} && this.fields.title_{{ $locale }}.valid }" id="title_{{ $locale }}" name="title_{{ $locale }}" placeholder="{{ trans('admin.movie.columns.title') }}">
                    <div v-if="errors.has('title_{{ $locale }}')" class="form-control-feedback form-text" v-cloak>{{'{{'}} errors.first('title_{{ $locale }}') }}</div>
                </div>
            </div>
        </div>
    @endforeach
</div>

<div class="row">
    @foreach($locales as $locale)
        <div class="col"@if(!$loop->first) v-show="isFormLocalized && currentLocale == '{{ $locale }}'" v-cloak @endif>
            <div class="form-group row" :class="{'has-danger': errors.has('{{ $locale }}_perex'), 'has-success': this.fields.{{ $locale }}_perex && this.fields.{{ $locale }}_perex.valid }">
                <label for="{{ $locale }}_perex" class="col-md-2 col-form-label text-md-right">{{ trans('admin.movie.columns.perex') }}</label>
                <div class="col-md-9" :class="{'col-xl-8': !isFormLocalized }">
                    <div>
                        <textarea v-model="form.perex.{{ $locale }}" v-validate="'required'" class="hidden-xs-up" id="{{ $locale }}_perex" name="{{ $locale }}_perex"></textarea>
                        <quill-editor v-model="form.perex.{{ $locale }}" :options="wysiwygConfig" />
                    </div>
                    <div v-if="errors.has('{{ $locale }}_perex')" class="form-control-feedback form-text" v-cloak>{{'{{'}} errors.first('{{ $locale }}_perex') }}</div>
                </div>
            </div>
        </div>
    @endforeach
</div>

<div class="form-group row" :class="{'has-danger': errors.has('published_at'), 'has-success': this.fields.published_at && this.fields.published_at.valid }">
    <label for="published_at" class="col-form-label text-md-right" :class="isFormLocalized ? 'col-md-4' : 'col-sm-2'">{{ trans('admin.movie.columns.published_at') }}</label>
    <div :class="isFormLocalized ? 'col-md-4' : 'col-md-9 col-xl-8'">
        <div class="input-group input-group--custom">
            <div class="input-group-addon"><i class="fa fa-clock-o"></i></div>
            <datetime v-model="form.published_at" :config="datetimePickerConfig" v-validate="'date_format:YYYY-MM-DD kk:mm:ss'" class="flatpickr" :class="{'form-control-danger': errors.has('published_at'), 'form-control-success': this.fields.published_at && this.fields.published_at.valid}" id="published_at" name="published_at" placeholder="{{ trans('brackets/admin-ui::admin.forms.select_date_and_time') }}"></datetime>
        </div>
        <div v-if="errors.has('published_at')" class="form-control-feedback form-text" v-cloak>@{{ errors.first('published_at') }}</div>
    </div>
</div>

<div class="form-check row" :class="{'has-danger': errors.has('is_published'), 'has-success': this.fields.is_published && this.fields.is_published.valid }">
    <div class="ml-md-auto" :class="isFormLocalized ? 'col-md-8' : 'col-md-10'">
            <input class="form-check-input" id="checkbox" type="checkbox" v-model="form.is_published" v-validate="'required'" data-vv-name="is_published"  name="is_published_fake_element">
            <label class="form-check-label" for="checkbox">
                {{ trans('admin.movie.columns.is_published') }}
            </label>
            <input type="hidden" name="is_published" :value="form.is_published">
        <div v-if="errors.has('is_published')" class="form-control-feedback form-text" v-cloak>@{{ errors.first('is_published') }}</div>
    </div>
</div>
UI elements
Admin UI comes with number of UI elements that are ready to use in your application.
Multiselect
Multiselect component is ideal for:
- Single select / dropdown
- Single select with search
- Multiple select (+ search)
- Tagging
- Custom option rows inside select
- Asynchronous options
The basic single select / dropdown doesn’t require much configuration:
<multiselect v-model="value" :options="options" placeholder="Pick a value"></multiselect>The options prop must be an Array.
However, the most common scenario for multiselect is to assign many to many relationships.

For that, you would need a markup like this:
<multiselect v-model="form.roles" :options="{{ $roles->toJson() }}" placeholder="Select Roles" label="name" track-by="id" :multiple="true"></multiselect>The full documentation with all the features and examples can be found here:
http://monterail.github.io/vue-multiselect/
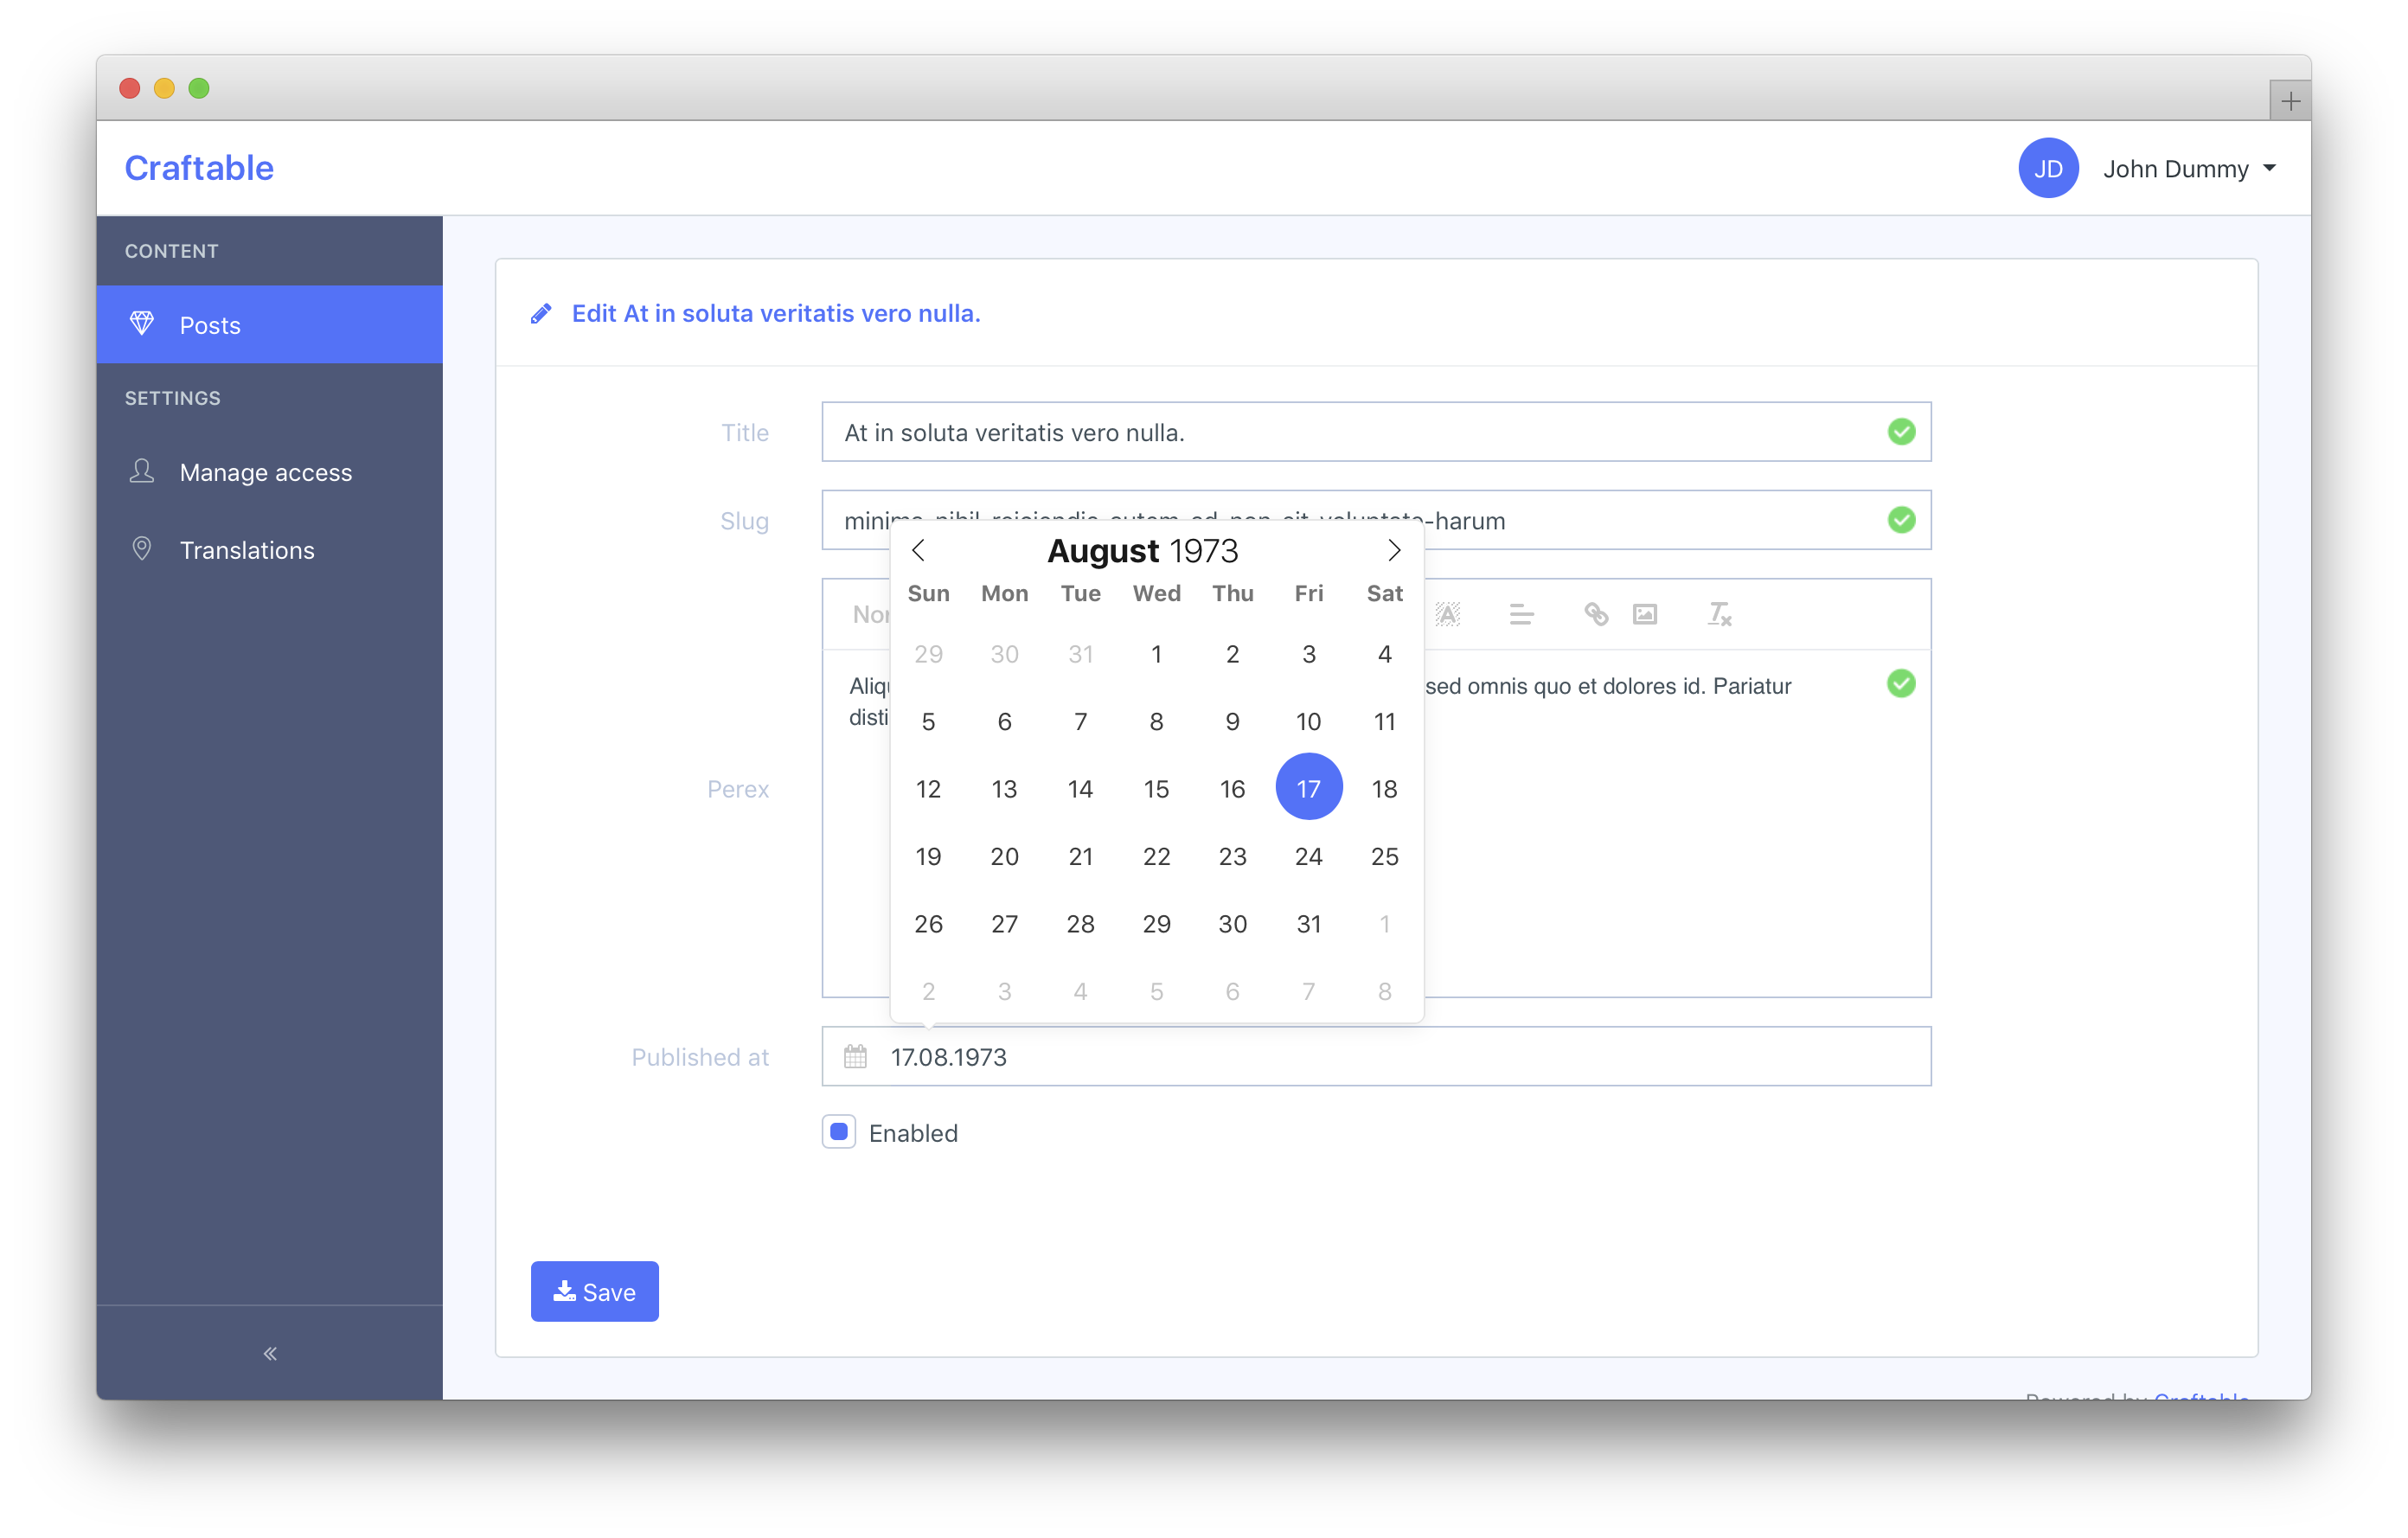
Datepicker
Admin UI uses a versatile datepicker, which can be configured to act as a:
- time picker (
:config="timePickerConfig") - date picker (
:config="datePickerConfig") - datetime picker (
:config="datetimePickerConfig")

<datetime v-model="form.published_at" :config="datetimePickerConfig" class="flatpickr" placeholder="Select date and time"></datetime>It plays nicely with validation library vee-validate, is fully customizable to show date on the screen in one format, but send to the server in another.
Datepicker takes localization settings by default from html's lang attribute, but can be simply overriden.
The full documentation with all the features and examples can be found here:
https://github.com/ankurk91/vue-flatpickr-component
and here:
https://chmln.github.io/flatpickr/
Modal
Admin UI got simple to use, mobile friendly modal box out of the box.
You can create modal like this:
<modal name="hello-world">
  hello, world!
</modal>
and then call it anywhere in the app:
methods: {
  show () {
    this.$modal.show('hello-world');
  },
  hide () {
    this.$modal.hide('hello-world');
  }
}
You can easily send data into the modal:
this.$modal.show('hello-world', { foo: 'bar' })And receive it in beforeOpen event handler:
<modal name="hello-world" @before-open="beforeOpen"/>methods: {
beforeOpen (event) {
console.log(event.params.foo);
}
}If you would like to have a quick modal box with buttons (e.g. for confirmation purposes), you can utilize modal dialog option.
this.$modal.show('dialog', {
    title: 'Warning!',
    text: 'Do you really want to delete this item?',
    buttons: [
        { title: 'No, cancel.' },
        {
            title: '<span class="btn-dialog btn-danger">Yes, delete.<span>',
            handler: () => {
                this.$modal.hide('dialog');
                console.log('deleted');
            }
        }
    ]
});
The full documentation with all the features and examples can be found here:
https://github.com/euvl/vue-js-modal
Notification
Admin UI uses a simple toast-like alerts, so users can get notified of action results very easily.

To display basic notification, just run:
this.$notify({ type: 'success', title: 'Success!', text: 'This is notification test.'});There are 3 types available (each in its corresponding styles)
successwarningerror
The full documentation with all the features and examples can be found here:
https://github.com/euvl/vue-notification
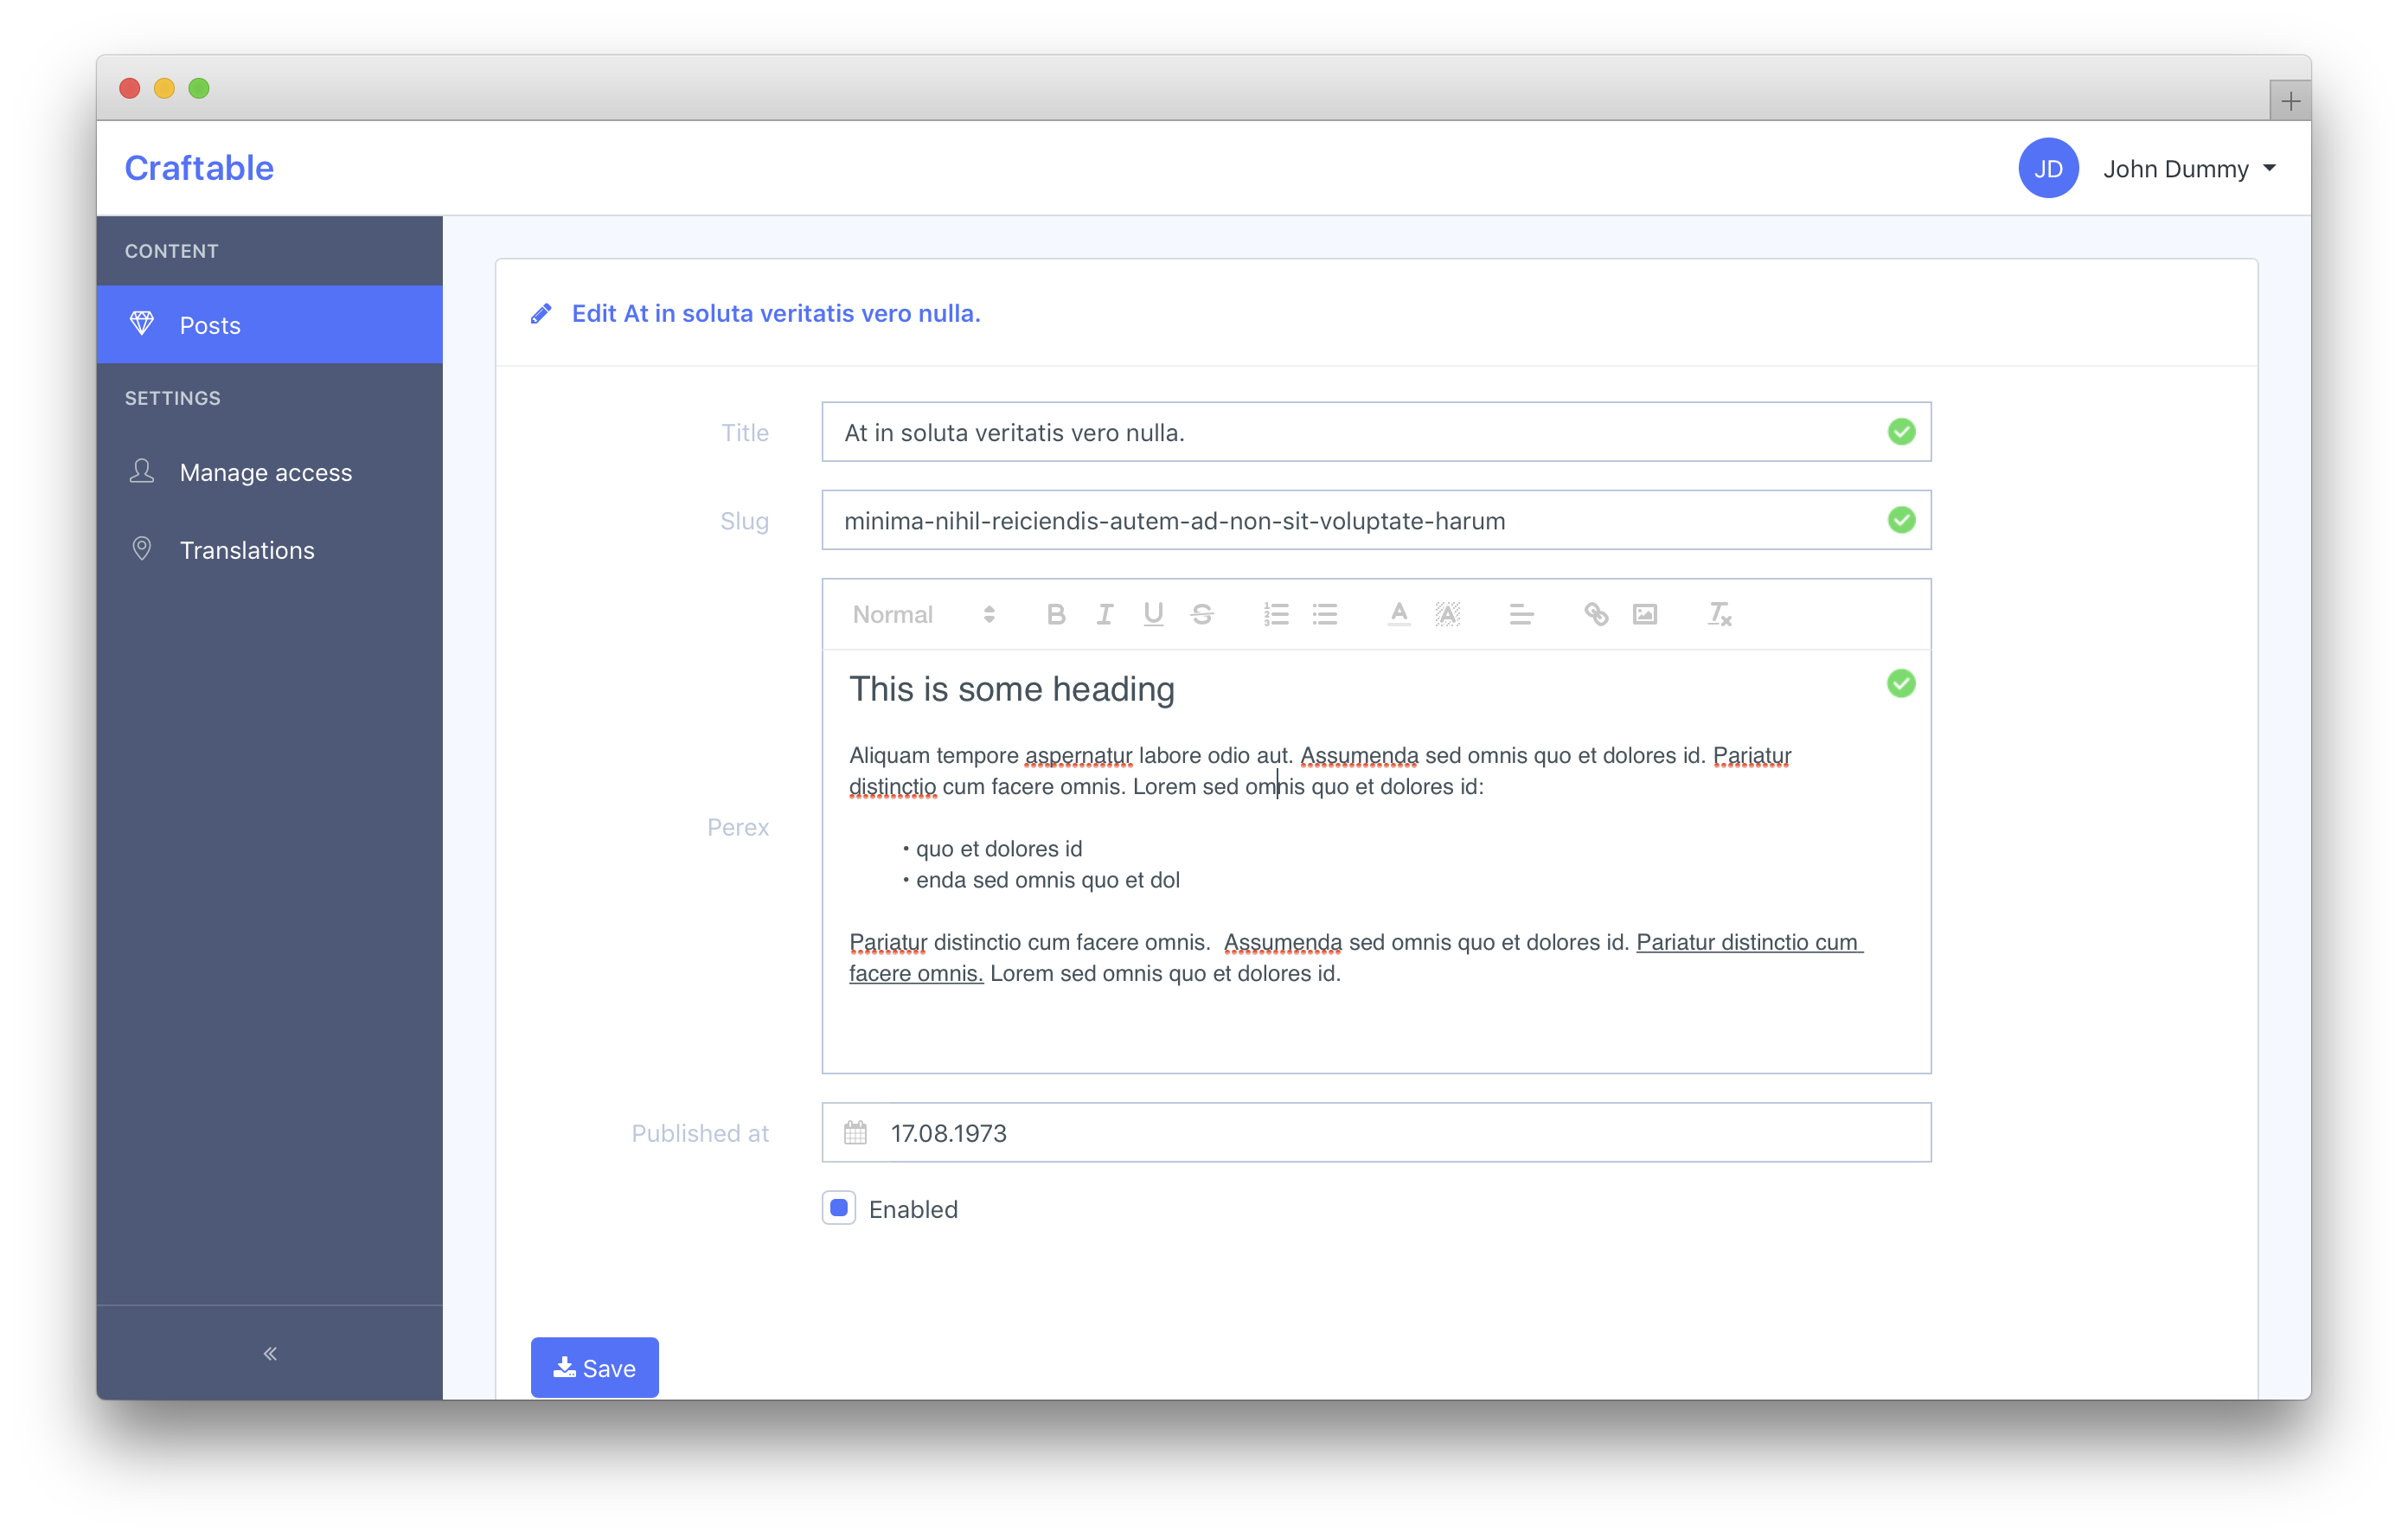
Wysiwyg

<quill-editor v-model="form.perex" :options="wysiwygConfig" />You can override default wysiwygConfig object and hide/add some of the toolbar's buttons:
wysiwygConfig: {
    placeholder: 'Type a text here',
    modules: {
        toolbar: [
            [{ 'header': [1, 2, 3, 4, 5, 6, false] }],
            ['bold', 'italic', 'underline', 'strike'],
            [{ 'list': 'ordered'}, { 'list': 'bullet' }],
            [{ 'color': [] }, { 'background': [] }],
            [{ 'align': [] }],
            ['link', 'image'],
            ['clean']
        ]
    }
}
The full documentation with all the features and examples can be found here:
https://github.com/surmon-china/vue-quill-editor
and here:
https://quilljs.com/docs/quickstart/
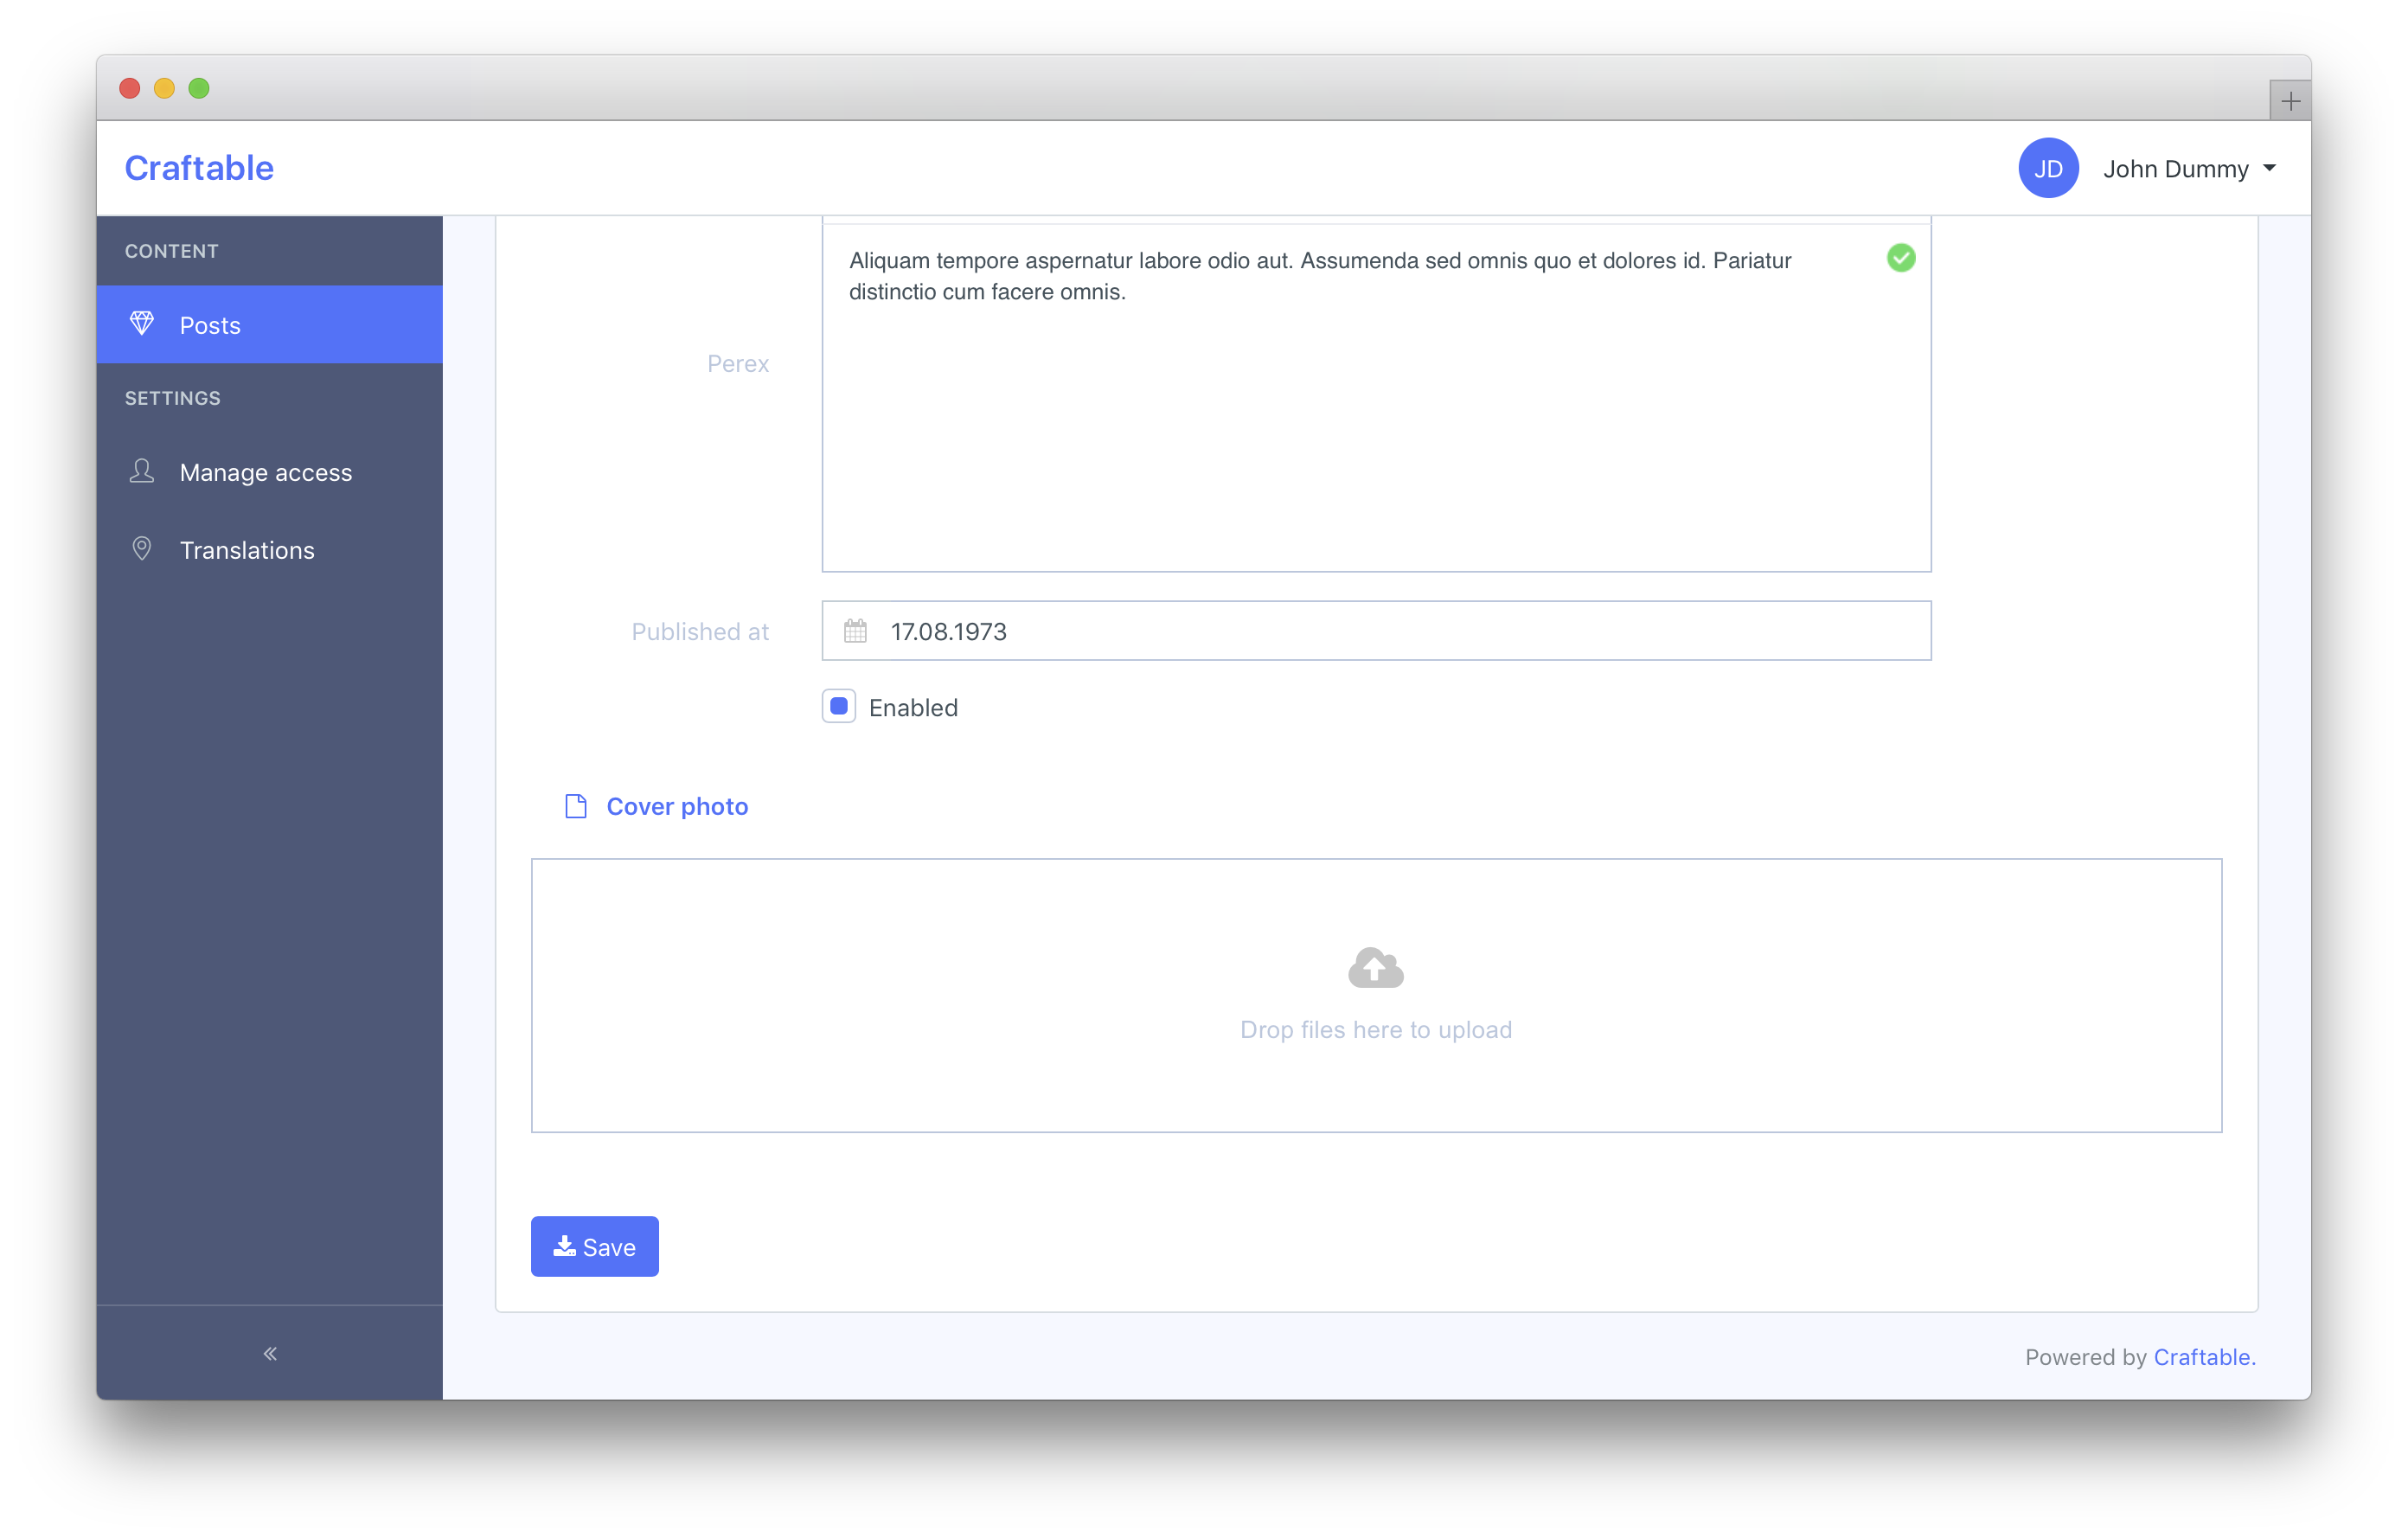
Media upload.
Admin UI provides a simple template to cover your media upload functionality, that is specifically designed for brackets/media package (for eloquent models implementing Brackets\Media\HasMedia\HasMediaCollections).

Basic integration with brackets/media package.
use Illuminate\Database\Eloquent\Model;
use Spatie\MediaLibrary\HasMedia\Interfaces\HasMediaConversions;
use Spatie\MediaLibrary\Media;

use Brackets\Media\HasMedia\HasMediaCollections;
use Brackets\Media\HasMedia\HasMediaCollectionsTrait;
use Brackets\Media\HasMedia\HasMediaThumbsTrait;

class Post extends Model implements HasMediaCollections, HasMediaConversions {

    use HasMediaCollectionsTrait;
    use HasMediaThumbsTrait;

    public function registerMediaCollections()
    {
        $this->addMediaCollection('gallery')
             ->accepts('image/*');

        $this->addMediaCollection('secret_file')
             ->private()
             ->accepts('pdf/*');
    }

    public function registerMediaConversions(Media $media = null)
    {
        $this->autoRegisterThumb200();

        $this->addMediaConversion('detail_hd')
            ->width(1920)
            ->height(1080)
            ->performOnCollections('gallery');
    }
We're using the HasMediaThumbsTrait to auto register additional thumb200 conversion for a model.
This trait is also later used by our media uploader component to retrieve already uploaded media from your model.
If you've got any image media, you must also call accepts('image/*') on your image collection. This step is mandatory for this trait to function properly.
Then you must define your media collections in your Form.
import AppForm from '../components/Form/AppForm';

Vue.component('post-form', {
    mixins: [AppForm],
    data: function() {
        return {
            form: {
                //your regular form inputs
                title:  this.getLocalizedFormDefaults(),
                perex:  this.getLocalizedFormDefaults()
            },
            mediaCollections: ['gallery', 'secret_file']
        }
    }

});
Now you can finally include our media uploader component and you're good to go.
 @include('brackets/admin-ui::admin.includes.media-uploader', [
                            'mediaCollection' => app(App\Models\Post::class)->getMediaCollection('gallery'),
                            'label' => 'Gallery'
                        ])
Optionally, you can pass the 'media' parameter, to show already uploaded media (usually used within edit.blade.php).
@include('brackets/admin-ui::admin.includes.media-uploader', [
                            'mediaCollection' => app(App\Models\Post::class)->getMediaCollection('gallery'),
                            'media' => $post->getThumbs200ForCollection('gallery'),
                            'label' => 'Gallery'
                        ])
Loaders
Admin UI is prebundled with multiple loaders.
Loader is automatically shown during axios requests, or manually by calling
this.setLoading(true);To change the default loader, go to resources/assets/admin/scss/_variables.scss and change $loader to whatever you like.
All the available loaders are showcased here:
http://samherbert.net/svg-loaders/
Spinner Button
Spinner Button is a little utility class (.btn-spinner), to make buttons more interactive.

It attaches a click event listener on the <a> tag and replaces the <i> FontAwesome icon with spinner icon.
<a class="btn btn-primary btn-spinner" href="#">
    <i class="fa fa-plus"></i> New Movie
</a>
If you are dealing with non-redirecting buttons (e.g. buttons that fire ajax calls), be sure to control the appearance of spinner icons manually via vue:
<button type="submit" class="btn btn-primary">
    <i class="fa" :class="submiting ? 'fa-spinner' : 'fa-download'"></i> Save
</button>
Cookies
Admin UI provides a simple way to manipulate cookies via Vue:
// From some method in one of your Vue components
this.$cookie.set('test', 'Hello world!', 1);
// This will set a cookie with the name 'test' and the value 'Hello world!' that expires in one day

// To get the value of a cookie use
this.$cookie.get('test');

// To delete a cookie use
this.$cookie.delete('test');
The full documentation with all the features and examples can be found here: