Admin Auth
This package handles authentication into Admin UI interface. It provides these features:
- User authentication
- Reset password
- Account activation
Provided functionality is ready to use - package exposes a set of routes, it has controllers and views (based on brackets/admin-ui admin template).
Requirements
This package requires PHP 7.2+ and Laravel (5.5, 5.6 or 5.7).
It uses brackets/admin-ui as a dependency.
Installation
{danger.fa-exclamation-triangle} This section is only when you want to use this package as a standalone package. If you are using with Craftable, then this package is already installed.
First, let's require this package:
composer require brackets/admin-auth{info} If you did not installed
brackets/admin-uiyet, this is the moment you should. Follow the Admin UI Installation.
Now let's install this package using:
php artisan admin-auth:installFinally we need to compile all the assets using npm:
npm install && npm run devAuthorization
{info} This section is for those of you who use this package as a standalone package (without
brackets/craftable). If yo are using Craftable, you can safely skip this chapter :)
This packages provides some routes, that are for security reasons protected with 2 abilities:
adminauth:adminor another guard is used based on configadmin-auth.defaults.guard
The auth:admin ability is from Laravel itself. Guard is a part of this package.
But the package does not define admin ability, that's left to you and your specific use case.
How to quickly set it up? Let's assume, your use case is, that any logged user should have this ability. To get it working all you have to do is edit your AuthServiceProvider class and define it here:
class AuthServiceProvider extends ServiceProvider
{
    ...
    public function boot()
    {
        Gate::define('admin', function ($user) { return true; });

        $this->registerPolicies();
    }
Alternative advanced installation
If you have existing project and you want to have everything strongly in your hands, you can install this package manually.
Before we start we need to install brackets/admin-ui package (see Admin UI Installation).
Then let's require this package:
composer require brackets/admin-authMigrations can be published using:
php artisan vendor:publish --provider="Brackets\AdminAuth\AdminAuthServiceProvider" --tag="migrations"After publishing of migrations, you have to migrate.
php artisan migrateThis package is intended to work with new AdminUser model. These are the attributes our package can handle (but none of them is required):
first_name(string) represents a first name of the userlast_name(string) represents a last name of the useractivated(boolean) represents a status if user activatedforbidden(boolean) represents a status if user authentication is forbiddendeleted_at(datetime) for soft delete functionalitylanguage(string) holds a user's preferred locale that is going to be used
If you use default User model from Laravel installation, you can, but you have to change configs in admin-auth.defaults sections.
You can publish the config file with:
php artisan vendor:publish --provider="Brackets\AdminAuth\AdminAuthServiceProvider" --tag="config"By default this package registers a set of routes. These can be disabled with config use-routes => false,.
Finally we need to compile all the assets using npm:
npm install && npm run devBasic usage
Let's point our browser to /admin/login.

Tadaaa :) You should be able to see login form.
Let's create some user, so you can sign into the admin interface. We're gonna use php artisan tinker:
>>> factory(Brackets\AdminAuth\Models\User::class)->create(['email' => 'john@example.com', 'password' => bcrypt('password123')]);Now you can authenticate.

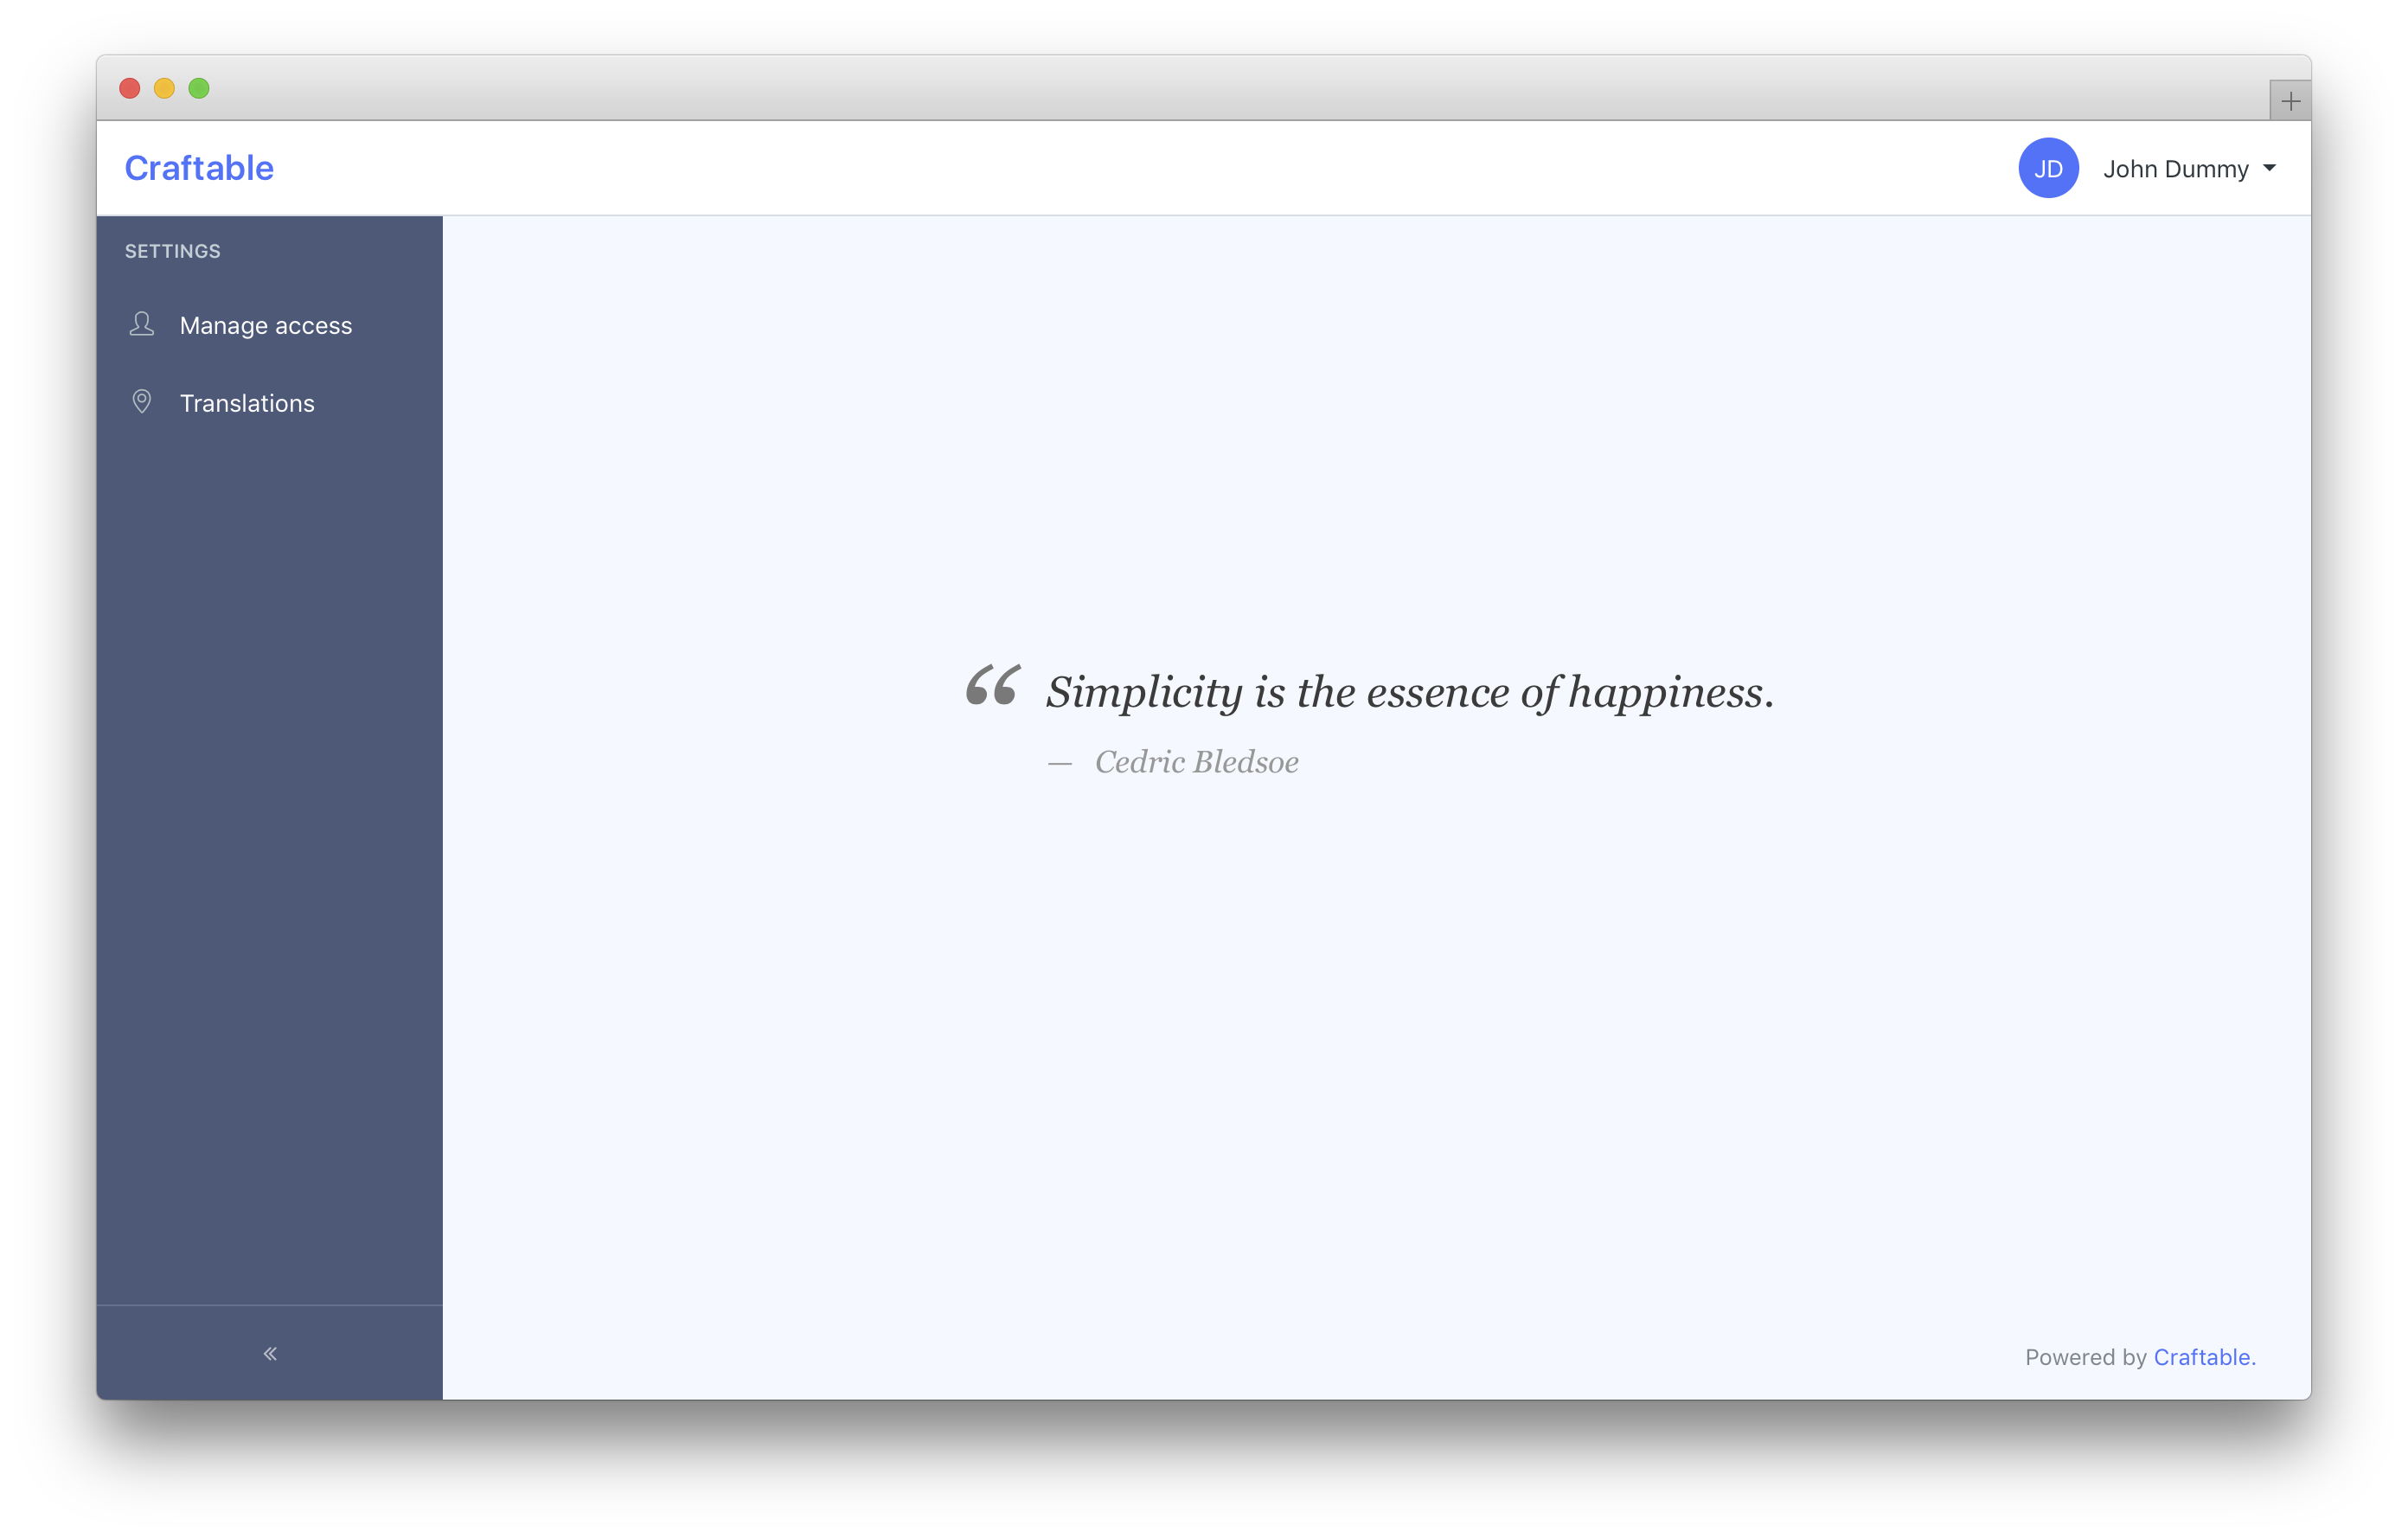
You should be able to see an empty Admin UI interface (with no content to manage).
{info} If you are getting
UnauthorizedException, see instructions in Authorization section.
Authentication
Authentication part of this package is based on standard Authentication provided by Laravel, with some adjustments and more configurable options.
During the authentication process, depends on the configuration, more checks are made than just checking email and password:
- activated - if activation is enabled, then we additionally check for
activated == trueon user, see more in Activation - forbidden - if forbidden functionality is enabled, then we check for
forbidden == false(user's authentication can be forbidden)
Password reset
Password reset is also based on Laravel standard password reset classes.
We have introduced redirect configuration.
We have added a strong password constrain (consisting from at least 7 chars at least one digit etc.).
Activation
This package provides complete functionality around user activation. Main purpose of activation is to confirm user's e-mail
address is really an address user has access to. This feature can be disabled with config admin-auth.activation_enabled. If this
feature is turned on, user can not log in, unless his account is activated. After user is created, activation email with
custom link is sent to the user. After visiting this link, user will be activated.
User Model
For activation to work properly with default Laravel User model, the User model has to implement Brackets\AdminAuth\Activation\Contracts\CanActivate
interface. This can be done with Brackets\AdminAuth\Activation\Traits\CanActivate trait.
Also users table need to have activated column. The provided migration will do the trick.
Self-activation form
If you will enable admin-auth.self_activation_form_enabled, user can visit form where he can request to resend the activation e-mail.
Admin middleware
Our package also comes with Brackets\AdminAuth\Http\Middleware\CanAdmin middleware, which checks if the Auth user has the ability called admin.
Package also provides route middleware called admin with two middleware Brackets\AdminAuth\Http\Middleware\CanAdmin and Brackets\AdminAuth\Http\Middleware\ApplyUserLocale. The second one will set locale based on Admin User preferences.
You can protect your routes using the middleware you just set up:
Route::group(['middleware' => ['admin']], function () {
    //
});
If the user does not have the ability, response is 403 Unauthenticated. You can use this middleware, if it suites your need.